How to Deploy a Website
IT Updated on : January 20, 2025Deploying your application is the key factor once you have completed developing and designing your website. Deployment comes when you are ready to go live on a web server. In many cases, you may be dealing with customers who are getting their website live for the first time, and there is nothing for you to consider apart from the hosting solution to set them up on.
In this article, we will help you deploy a website easily. Read on to learn more about the website deployment process and its steps.
Table of Content
Is it difficult to deploy a website?
Well, deploying a website can be time-consuming, which you may find more challenging. But it can be made simpler and easier with proper planning, attention to detail, and an understanding of best practices.
You can use a version control system. Also, an automated deployment can decrease human error, save time and resources, and improve consistency. Moreover, you can also utilize tools, scripts, or platforms to automate the process.
Also, the difficulty of deploying a website can depend on your comfort level with technology. If you are comfortable with technology and can learn more, that it can be more manageable.
Moreover, the required time for deploying the website can vary, depending on the project’s scope.
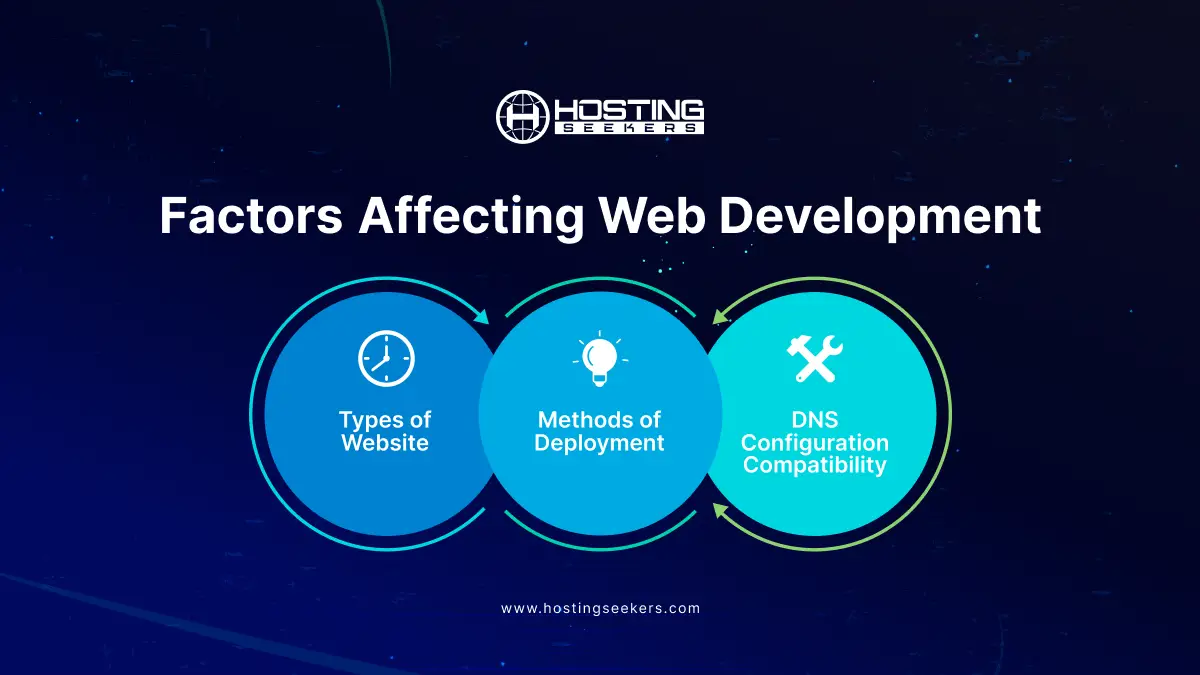
Factors Affecting Web Development

Different factors can create obstacles in your website deployment, and you may understand exactly how difficult website deployment is. Let’s explore more factors that may impact your website deployment.
Types of Website
Website type is among the vital factors that may impact your Web hosting deployment. Well, there are two types of websites mentioned below;
First is a static website in which deployment is very simple, and it incorporates uploading Javascript, CSS, and HTML files on a hosting platform.
The second is a dynamic website that has databases, server-side scripts, and extra configurations that make deployment more difficult.
Methods of Deployment
Web hosting deployment methods are categorized into two types which are manual deployment and automated deployment. This helps you to know how you can deploy your website. Therefore, manual deployment includes transmitting files through SSH or FTP, but this can cause errors and is also time-consuming.
DNS Configuration and Compatibility
Domain configuration helps you to point out your domain name to the web hosting server through DNS setting Which is another way of website deployment. It is vital that all frameworks, libraries, and dependencies with a hosting nature which is particularly vital for web applications.
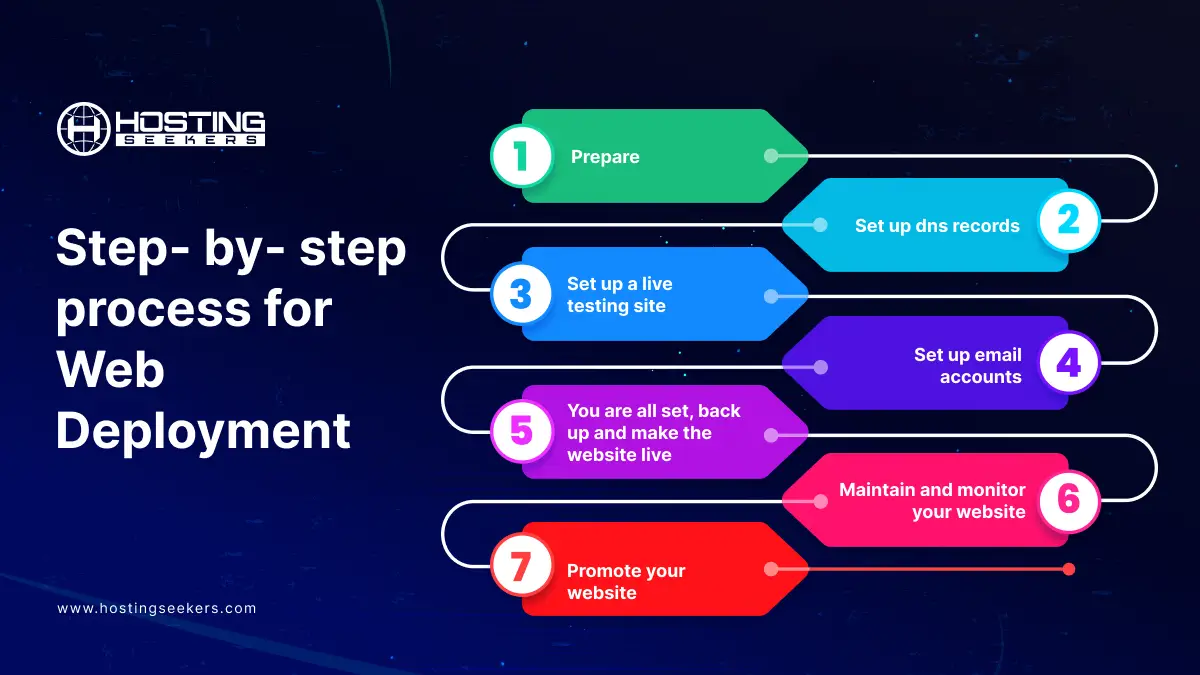
Step-by-step process for Web Deployment

Step 1: Prepare
Preparation is the vital step of website deployment. There are a few things to consider in this stage, and they depend on the type of deployment you are making. Therefore, before deploying your website, make sure all your files are well-organized and ready for upload. This incorporates CSS, Javascript, HTML, images, and other assets your website requires. Make sure that your code is well-optimized, clean, and error-free.
Another vital factor is code review, check your code for any issues or errors that may cause problems once the website is live. Also, optimize assets that include compressing images and minifying CSS and Javascript files to decrease load times.
Step 2: Set up DNS Records
So the next step is to set up DNS records. DNS stands for Domain Name systems, and it refers to the large system of data that includes the IP addresses, hosting, domain names, and other vital data across all the websites.
If you are setting up the website on a new host and you have access to DNS management administration, then all you need to do is create an A record for yourself or the subdomain record for a live development site ( For instance, dev.domain.com) then you can point this subdomain to the IP address of the new server.
Step 3: Set up a live Testing site
Now it’s time to test your live website. So, here the main goal is to see if the site works on the live server environment. We would suggest you set up a subdomain URL before you officially deploy the website.
For instance, you can utilize something like dev.abc.com, and eventually, you can add it to abc.com. Also, you can avoid setting up a subdomain on the host, as it will set up a new directory and make local DNS changes. You are required to make your live testing site domain a domain alias, which is also named a CNAME record.
This allows you to establish a website in the same location that can conduct your final tests as if the website were online. First, establish all folder permissions and other settings, then operate tests to analyze how the website performs.
Step 4: Set up Email Accounts
An often-overlooked step by many web developers is setting up email. However, it is mostly important to your customer. There are some queries you may need to ask. You need to check whether your client has mail hosted on their old server or if are you responsible for moving their email.
Therefore, if their email is hosting is a similar hosting account as their old website, then you will most likely require moving mail to their new server. If so, you need to get all their email addresses and set up their same accounts on the new server.
Also, even if the customer has an internal mail server or third-party email hosting, you may need to ensure that the MX records which are the DNS records that deal with mail are all correct.
Step 5: You are all set, back up and make the website live
Well, this is the crucial step, you don’t forget to back up any databases on the old website, even if you are hosting on a new server. You never know when you may require something.
You are almost ready to go live if you have total control over DNS records, all you need to change the A record for the domain name. Then, the IP address will change to the new web server, and in a span of 15 to 20 minutes, your website will be live.
Additionally, if you are renaming servers to point to the new host, it may take up to 72 hours. Therefore, ensure that you have time to see and set any errors as you catch them on the new website. As it is a change in name servers, you can’t change it back immediately, so ensure you are all set ahead of time.
Step 6: Maintain and monitor your website
Once your website is live, the work doesn’t stop here. Maintenance and monitoring are also necessary to ensure that your website continues functioning seamlessly, offering a seamless user experience. You can obtain an SSL certificate; different hosting providers offer free SSL certificates or else you can opt for a certificate authority.
Additionally, make sure that all links on your website utilize HTTPS instead of just HTTP.
Step 7: Promote your website
Once your website is functional, the next vital step is to promote it to attract visitors, increase visibility, and drive organic traffic. Moreover, promoting your website includes various digital marketing strategies to reach and achieve your target audience.
No matter whether it’s gaining more subscribers, boosting sales, or simply raising awareness. You need to do regular backups and set regular backups to secure your data in case of obstacles.
Also, you can use tools like Google Analytics that should be utilized to track traffic and user behavior.
Summing Up
Congratulations, your website deployed successfully. By carefully following each process stage preparing your website files, selecting the exact hosting service, and setting up a domain to upload your files and configure your server. Therefore, it’s vital to ensure your website is more secure, fast, and accessible.
Frequently Asked Questions
1. What is the Difference between Deploy vs Publish Website:
Publishing typically refers to making content available to users, often in a finalized or public form. It can apply to various digital content, including websites, documents, or software updates. For example, publishing a blog post makes it accessible to readers.
Deployment, on the other hand, specifically relates to the process of taking software (including websites and web applications) from a development environment to a production environment where it is accessible to users. Deployment involves tasks like configuring servers, transferring files, and ensuring the application works correctly in its live environment.
2. What does it mean to deploy a website?
Deploying a website means making it live and accessible on the internet for users to visit. This process involves transferring all necessary files from a local or development environment to a web server that hosts the website. It also includes configuring server settings, and domains, and ensuring the website functions correctly in the production environment.
3. How do I deploy my first website?
To deploy your first website, you typically follow these steps:
-Choose a hosting provider and set up a hosting account.
-Upload your website files to the server using FTP or a hosting provider’s control panel.
-Configure domain settings (if applicable) to point to your hosting server.
-Test the website thoroughly to ensure all pages and functionalities work correctly.
4. How can you deploy a web application?
Deploying a web application involves similar steps to deploying a website but may include additional considerations such as database setup, API integrations, and configuring server-side scripts. You might use tools like Docker, CI/CD pipelines, or specific deployment platforms to automate and streamline the process.
5. What are the 5 steps of deployment?
The steps of deployment typically include:
Preparation: Ensure all necessary files, configurations, and dependencies are ready.
Configuration: Set up the deployment environment, including servers, databases, and networking.
Deployment: Transfer files from the development environment to production servers.
Testing: Conduct thorough testing to ensure the application works as expected.
Monitoring and Maintenance: Monitor the deployed application for issues and perform regular maintenance tasks.
6. How to deploy your code?
To deploy code, you need to:
-Prepare your codebase, ensuring it’s clean, tested, and ready for production.
-Choose a deployment method (manual or automated).
-Set up your deployment environment, including servers and configurations.
-Execute the deployment process, which involves transferring code to production servers and configuring any necessary settings.
-Test the deployed code to ensure it functions correctly in the live environment.
7. How do I launch my website?
Launching a website involves deploying it to a live server accessible on the internet. Key steps include:
-Choose a domain name and register it (if not already done).
-Select a hosting provider and set up a hosting account.
-Upload your website files to the server using FTP or a hosting provider’s control panel.
-Configure domain settings to point to your hosting server.
Test the website thoroughly to ensure everything works correctly before announcing its launch.


